Space
- What is a space?
- How to set up a new space
- How to invite new members
- What happens when you invite someone to your space
- How to remove a person from a space
- How to manage your space members
- How to see all your tasks
- What can space owner and admins do
- Grouping space members
- Space’s settings
- Multiple spaces
- How to remove a space
What is a space?
A space is a virtual place that you populate with projects and work on them - alone or in a group.
Usually, you want to create a space for your company, department, or a team. Once you set up a space, you want to invite everyone you work with to be a part of this space to share projects, add tasks, and get things done together.
How to set up a new space
Go to our Nozbe website and tap on the “Sign up for free” button. Type in your email address and confirm. After email verification, you will be able to set up a password to your account and upload your avatar.
The app will ask you whether you want to use Nozbe for work or for personal use. To work with other people, select “For work”.
Once done, provide a name for your space. You can also upload your space’s avatar. In the next step, you can invite people to your new space.
If, when choosing the app’s purpose, you select “Personal use”, you’ll still be able to create a space at any time by inviting other people to your space.
You can also use the “Sign in with Google” or “Sign in with Apple” options to create an account using your Google account or Apple ID.
Nozbe also allows you to have multiple spaces. Learn how to create more spaces.
How to invite new space members
Once you create a space, you become its owner. As a space owner, you can invite new users to join your space in Nozbe. There are three ways to do that.
Inviting space members via email
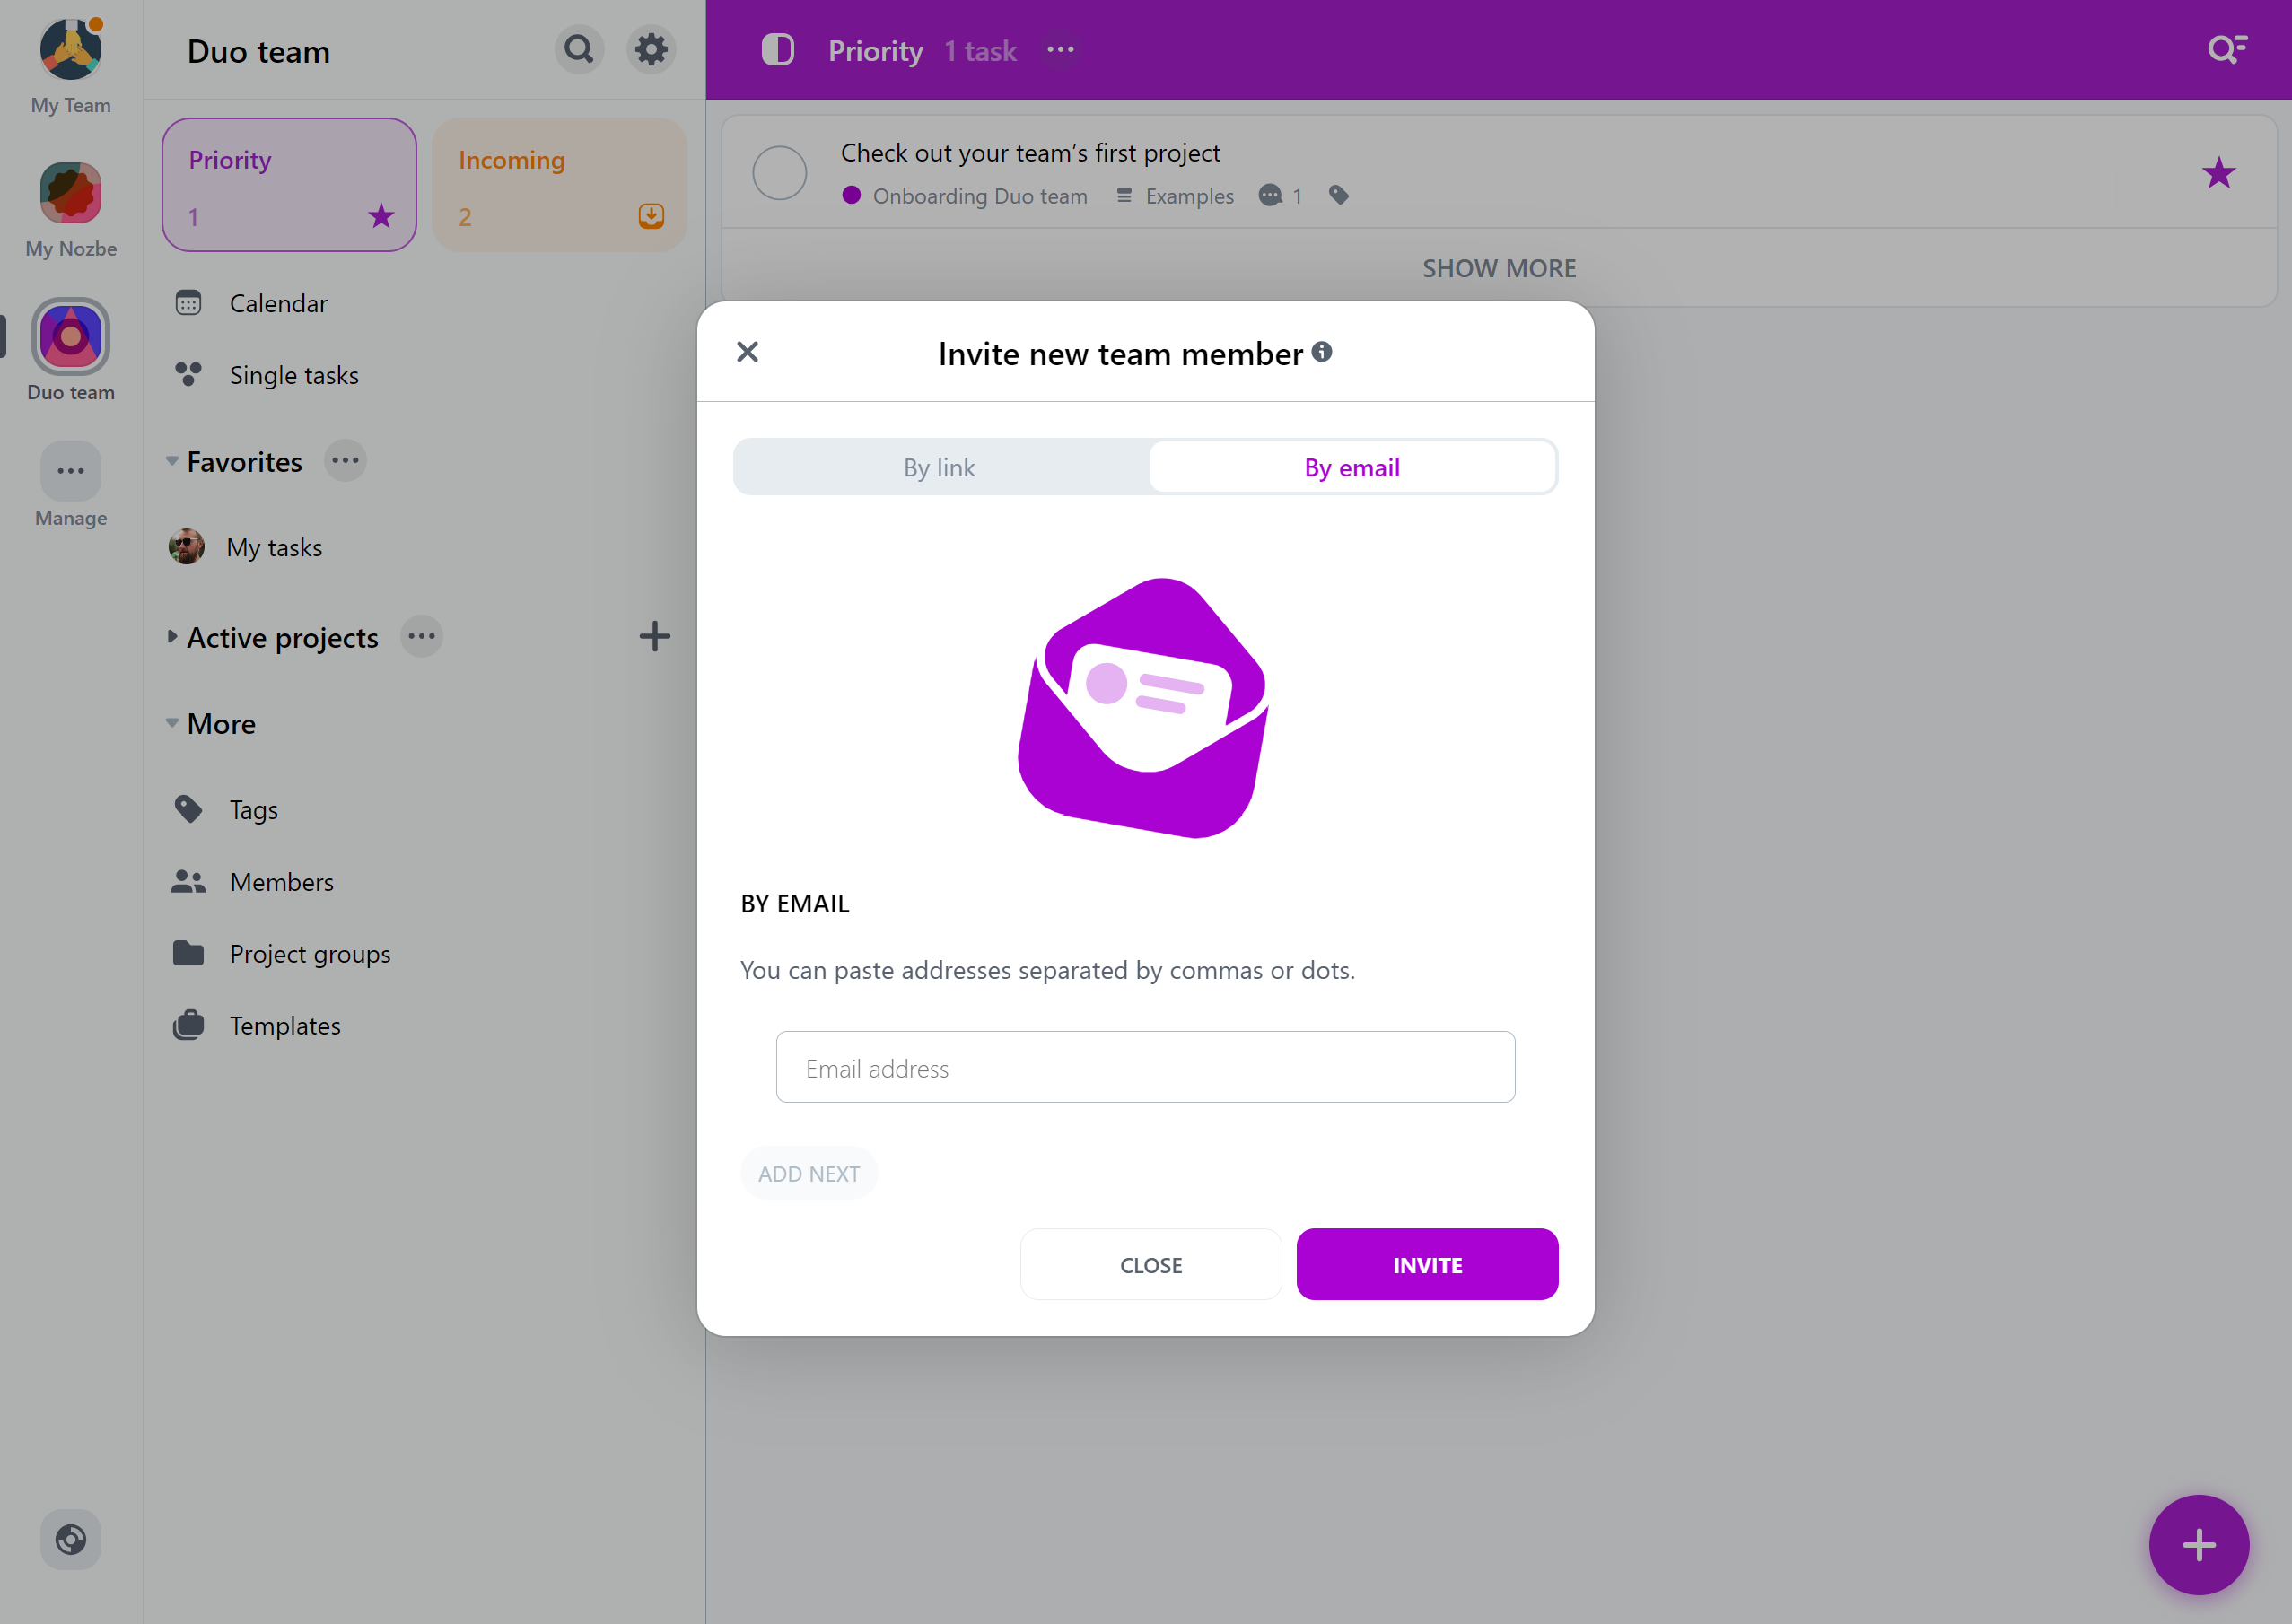
To add a person to your space, go to the “Space members” section in the main menu, then hit the “+” icon. Enter the email address and tap on “Invite”. This person will receive an email invitation to your space.

Inviting space members via link with code
You can also generate a unique invite link and send it to the people you want to invite.
To do this, you need to activate inviting space members via code first. Go to the “Space members” section in the app’s main panel, then hit the “+” icon. In the “By link” tab, choose “Generate code”. The link will be automatically copied.

You can now send the link to the people you want to invite.
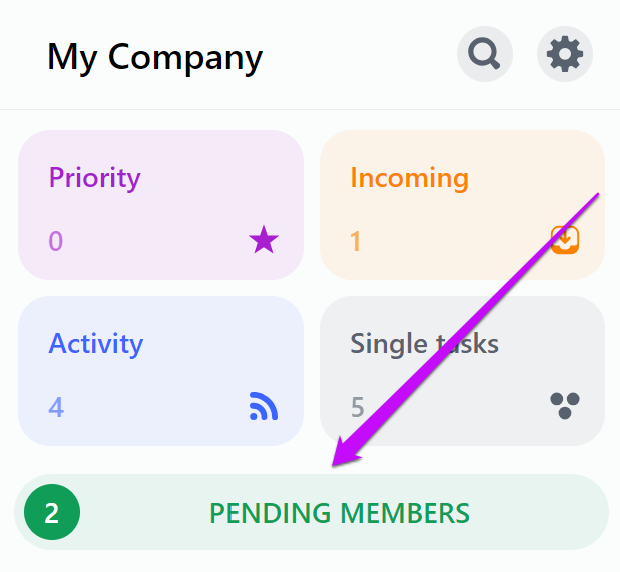
If a new space member used a code to join your space, you have to confirm their invitation status in your app. You can find all pending invitations in the app’s main panel.
You can disable the code at any time by choosing space members from the app’s main panel→"+" icon→By link→"Deactivate code" button.
Inviting space members when setting up your space
You can also invite other space members when setting up your space. If you chose to use Nozbe for work, you’ll be able to invite your space members using their email addresses in one of the steps.
If you add new space members on your mobile phone, you can select contacts directly from your address book.
What happens when you invite someone to your space
If the people you invited don’t have accounts in Nozbe yet, they can sign up to create a new account and join the space using the invitation link from the email they received or using the link with code you sent to them.
If they do have accounts in Nozbe already, they can:
- accept the invitation directly in their Nozbe app (if the invitation was sent to the same address they used to sign up for Nozbe)
- follow the space invitation link from the email they received and log in to their existing account to join the space
- paste the unique invitation code you sent them in their app to join the space. It can be done by hitting “Manage” on the spaces panel, then choosing “Join space”. Here they can paste the code and confirm to send you a request to join your space
New users will automatically have access to all space projects, with the exception of limited access projects.
When you invite someone to your space, and they already have their own space or are part of another one, none of the information from their existing space will be copied or moved to yours. So, if someone you invite has their own private space and they join your space, they will still have their private space with all its contents unchanged. None of their projects or tasks will be automatically transferred to your space.
The invitation expires after 14 days.
If by inviting new space members you exceed the limit of seats available in your current plan, Nozbe will automatically upgrade your plan to fit the invited users. Your subscription’s validity date will be adjusted according to the new plan’s pricing. The app will show you information that your plan has been upgraded. You will also receive an email about this change.
Resending an invitation
If the person you invited didn’t accept the invitation in 14 days, the invitation becomes expired. You can resend the invitation to that person in your “Space members” list.
You’ll see a list of expired invitations in the sidebar above the list of active members. Hit the “Resend” button to reactivate the invitation and send it again to that email address. You can also hit the “…” icon next to the invitee’s email address on the app’s top bar and hit the “Resend invitation” button there.
How to remove a person from a space
You can always remove someone from your space.
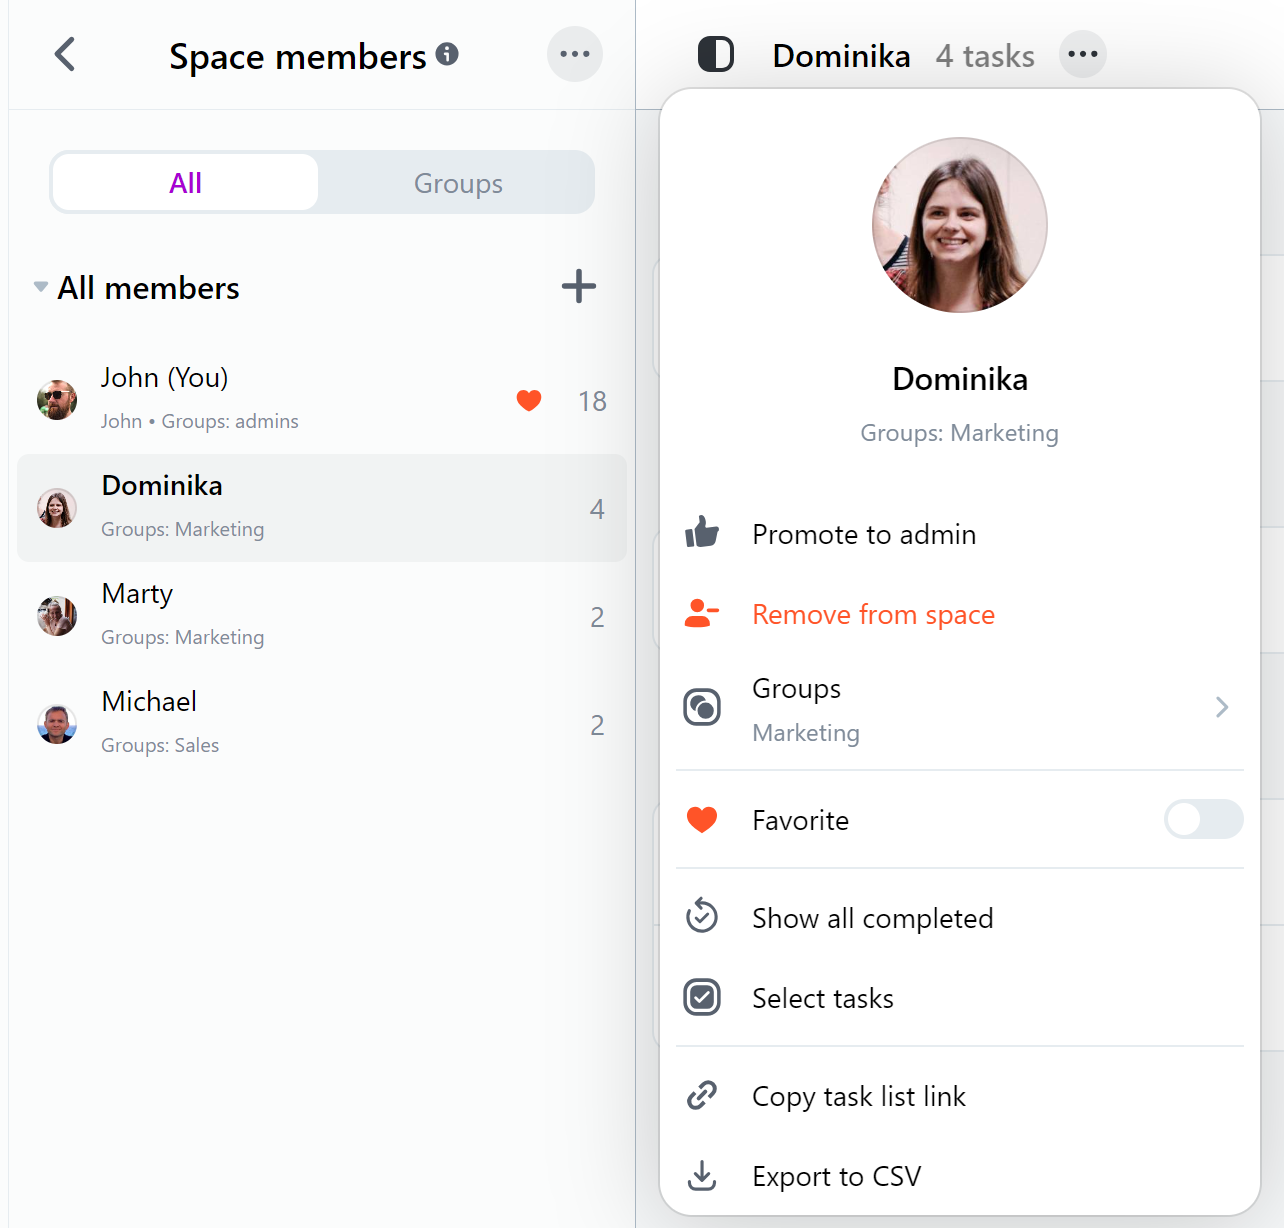
Go to the “Space members” view, choose the person by clicking their name, and then get to their details using the “…” icon visible next to their name. You will see a “Remove from space” option there. In the next window, tap on “Remove” to confirm your choice.

What happens when you remove someone from your space
A user that is removed from a space, but belongs to another space, will lose an access to that whole space, including the private projects that user had in that space. However, it won’t have any influence on projects the user shares in other spaces.
If the user doesn’t belong to any other space, they will also lose access to the whole space, including the private projects. However, as a result, a new (empty) Free space will be created for them. This way, the removed user can sign in and join other spaces.
All comments added by the removed user will remain in your projects. Those comments will be marked with gray dot next to that person’s avatar, indicating that the author of that comment has been removed from the space.

All active tasks assigned to that person will also remain in your projects, but the responsibility for them will now be set to “Anyone”. All completed tasks will stay unchanged.
All projects created by a removed user will also be preserved. If that person was a project manager, and they assigned an additional project manager before being removed from the space, the additional project manager will keep the rights to manage that project. If no additional project manager was assigned, one of the project members can take on that role. To do so, hit the “…” next to a project’s name → Manage → Members → “Become project manager” button.
You won’t have access to a removed person’s private projects.
How to manage your space members
In the “Space members” section, choose a person, and open their details. There, you’ll see various options:
-
Promote to admin (or Remove admin status) - here you can see the current role of this person in your space, and you can promote the selected user to an additional space admin or demote the space admin to a space user again.
-
Remove from space - use it to remove somebody from your space.
-
Groups - check which groups the user belongs to.
-
Favorite - mark the user as your favorite space member. Once you do it, the user will be displayed in the “Favorites” section in the left panel.
-
Show all completed - you can view all the tasks completed by that person.
-
Select tasks - you can select a few tasks at once and add some changes to them.
-
Copy task list link - you can copy a link to that user’s task list.
-
Export to CSV - export the user’s task list to a CSV file.
If the user hasn’t activated the account yet, you can additionally set their name and description. That way, other space members know who they are even before joining the space.
💡 Hint: you can also check the statistics of your space member by tapping the number of tasks displayed next to the person’s name. The app will show you the number of completed and active tasks assigned to them, as well as the amount of time needed and time spent set for their tasks, with a pace breakdown for last days, weeks and months.

You won’t see a person’s statistics for their private projects and tasks, as well as projects and tasks to which you don’t have access.
How to see all your tasks
You can see a list of all your tasks in the “Space members” view.
To do this, go to the app’s sidebar and hit the “Space members” view. Now select your name from the list. In the app’s main view, you’ll now see all tasks for which you are responsible.

The “My tasks” view is also by default added to your Favorites, so you can easily access it from your app’s sidebar.

What can space owner and admins do
Space owner and space admins are unique space roles that have special privileges.
Space owner
Space owner is a person who creates a space and invites other people to it.
Only space owner can:
- purchase and extend the space’s subscription
- change the space’s plan
- turn off auto-renewal to cancel a subscription
Space owner also has the same privileges as space admins.
Space admin
Space owner can promote chosen space members to space admins.
Space admins can:
- invite, accept or remove space members
- share projects with other spaces and accept project invitations from them
- change access to projects from accessible to all space members to a limited access one and the other way around
- in limited access projects to which they were invited to or which they created, they can add or remove project members
- change suggested colors in projects
- create or remove member groups
- create or remove public project groups
- promote other space members to admins and demote them
- change the space’s name
Space admins cannot remove the space owner from a space, or transfer the space ownership to different person. However, if a space owner leaves the space, a space admin will automatically become the new space owner.
Grouping space members
As a space owner or admin, you can also manage your space members and divide them into various groups. It is a valuable feature that helps you manage your space. Such groups are public, and creating a private group of space members isn’t possible.
If you want to create a new group, open the “Space members” section in the left panel. Now tap on the “Groups” button → “Create new group.” You need to type the group’s name in the new window and select the members you want to add. All is left to do is click on the “Create” button.

Even if the group is created, you can always change its members, rename it or delete it when you don’t need it anymore.
Hint: when you have a group of space members, you can mention it in the comment. That way, every member of that group will receive a notification. That’s useful, isn’t it?
One member can belong to several groups. So you can create any group you need and add your space members accordingly.
Space’s settings
In the gear icon menu you will find an option to manage the current space’s settings.

As the space’s owner, you can make the following changes here:
- In the “General” tab, you can upload or remove your space’s avatar, change its name or update its plan,
- The “Members” tab allows you to manage your space’s members,
- In the “Payments history” tab you can see your payments for this space’s subscription and download invoices for them,
- The “Remove space” tab contains an option to remove this space. Use it carefully!
If you are a space member, you’ll have access to the following options:
- In the “General” tab you can see the space’s name and avatar,
- The “Members” tab allows you to see the list of all members of this space,
- In the “Leave space” tab you can leave this space. After leaving a space, you will need to receive a new invitation to it from the space’s owner.
Multiple spaces
In Nozbe, you can own or join more than one space. You can cooperate with various companies, work with another organization or an agency, or need a distinct space for your personal and family stuff. Having more than one space helps you organize your work better and separate your work from personal commitments.
How to create another space
Hit the “Manage” button located under your current space avatar on the left side. Here, you can choose either to create a new space or join an existing one. You can also create a Personal Space. Once you make a decision, follow the instructions shown in the app.
Note that your request to join another space needs to be accepted by its owner or admin.

How many spaces can you have
You can have one free space. If you want to create another one, it will be automatically changed to a trial one valid for seven days. Once the trial expires, you will have to decide whether to purchase a Premium plan subscription or remove one of your spaces. If you don’t do that, the synchronization will be stopped and you won’t be able to access the expired space.
You can have as many Premium spaces as you need, but every space requires a separate subscription. However, if you choose the Nozbe Business plan, you can create an unlimited number of spaces and only pay one unified price for the overall number of users!
You can also join as many spaces as you want. It doesn’t matter if they are free or Premium.
How to remove a space
If you want to leave one of your spaces, go to the “Space members”/“Members” view and tap your name. Now tap the “…” button next to your name and choose “Leave space”:
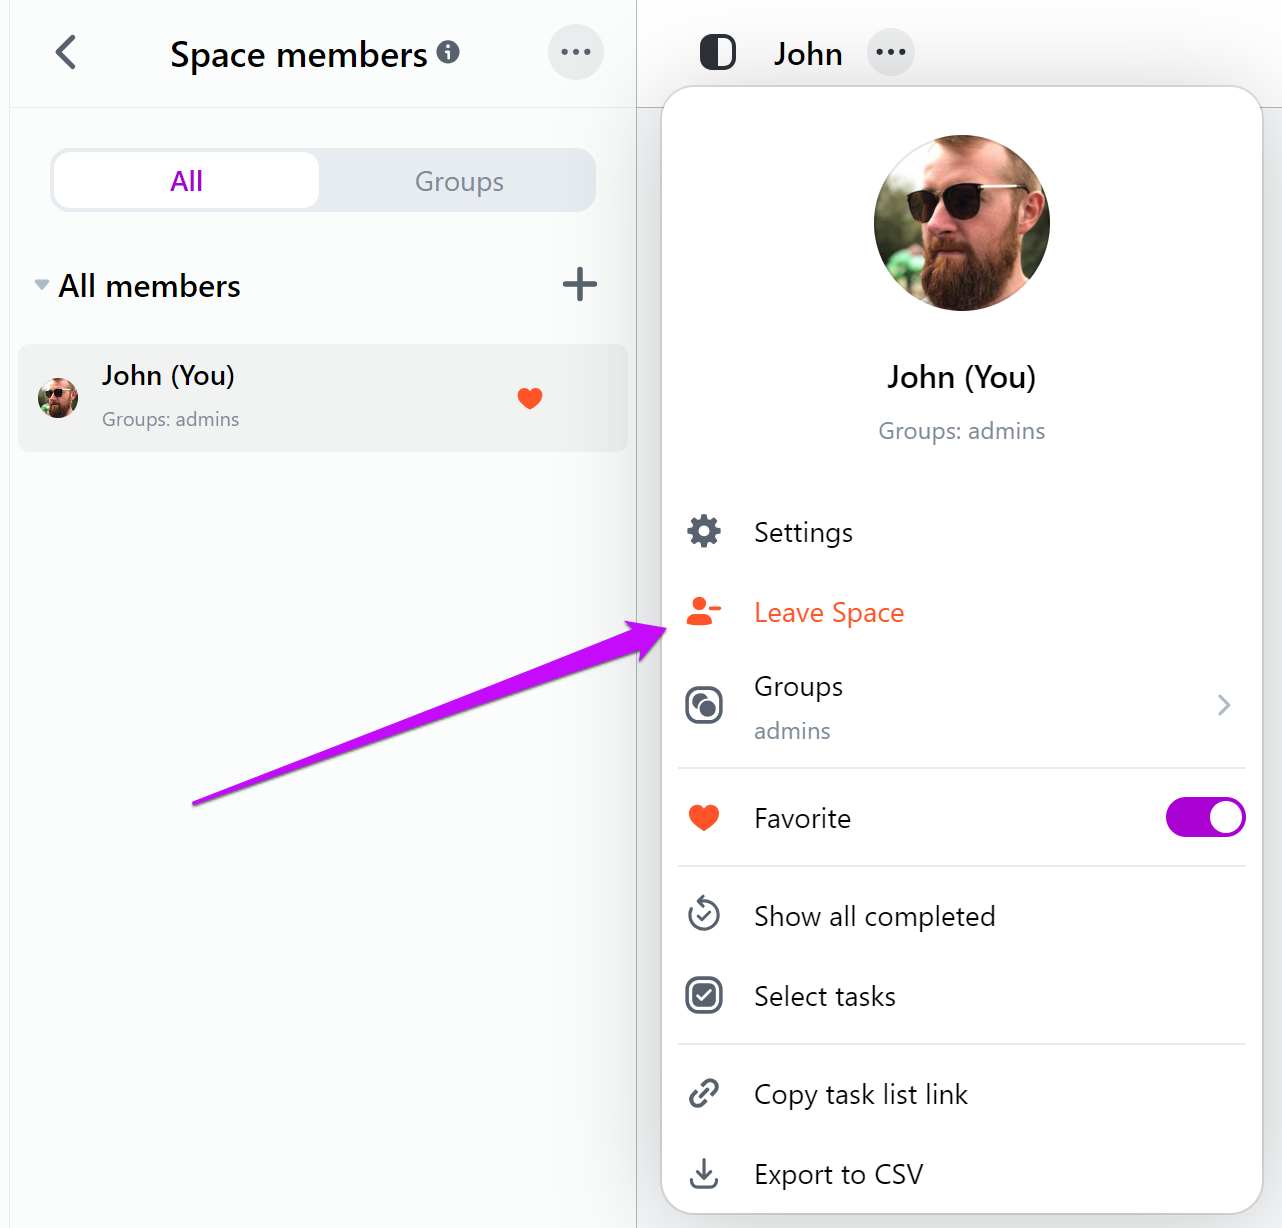
You can also leave a space as its member by hitting the gear icon → Space settings → “Leave space” tab. Hit the “Leave space” button and confirm your choice by typing in the space’s name.

If you are the only member of that space, the space will be removed once you leave it.
Closing account or leaving a space as an owner
Leaving a space as its owner will transfer the ownership to the space admin or any space member if there are no admins.
Removing a space
If you are a space owner, you can permanently remove it and all data related to it. Use this option carefully!
To remove a space, hit the gear icon → Space settings → “Remove space” tab and hit the “Remove space” button. Confirm your choice by typing in your space’s name.